How to install WordPress manually on CPanel
WordPress is easy to install using the one-click installation script. But it is safe to have manual installation for security reasons. This article will illustrate step-by-step on how to install WordPress manually on cPanel.
Download the WordPress file
First of all, you have to download the WordPress files from https://wordpress.org/download. Click on the blue button to download the WordPress file.
You can download zip file as it is easy to upload using cPanel than uploading individual files.
Log into cPanel
 To login to your domain, use the following URL http://yourdomainname.com/cpanel or the URL provided by your hosting provider.
On cPanel, use “File Manager” link to go to file manager page. The file manager is the link that shows all files and folders in your server. After you open the file manager, click on “public_html.” public_html is the only place that is accessed by users. Users on the internet can not access files placed out of “public_html.”
Upload WordPress files
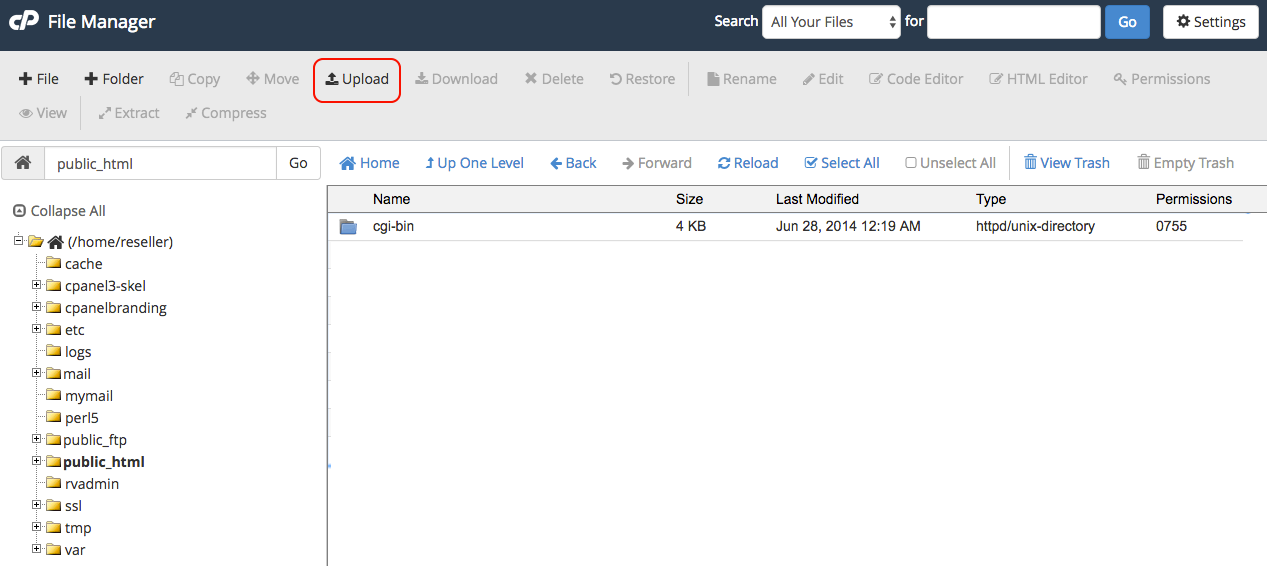
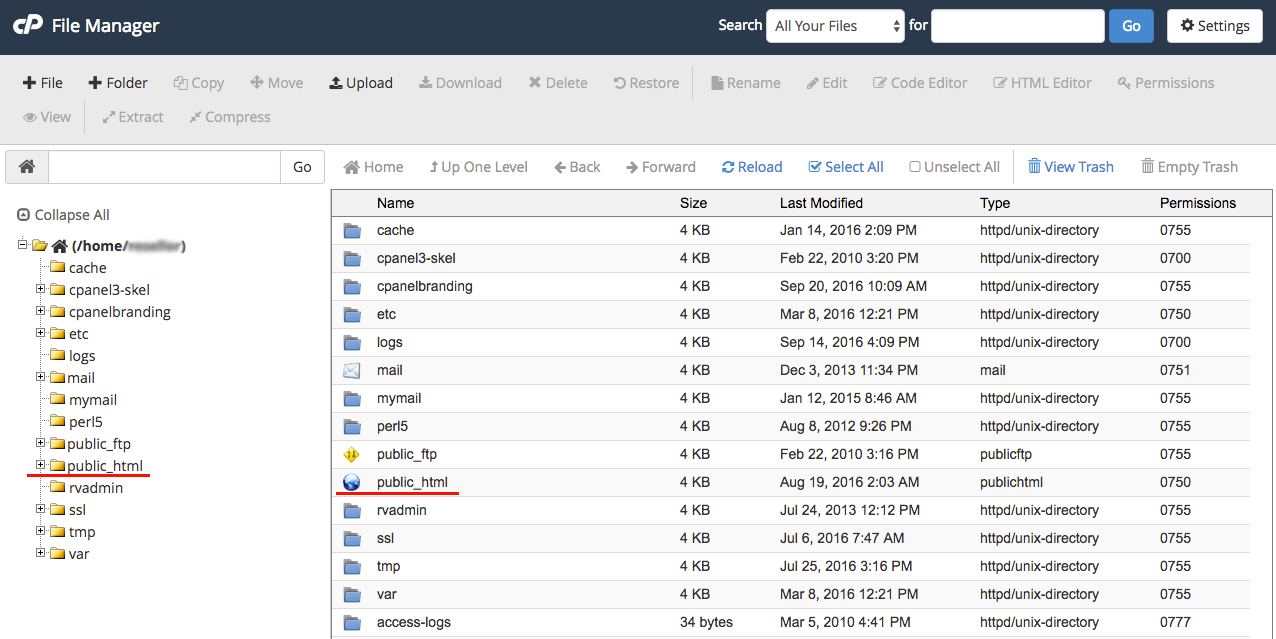 Upload the zip file inside “public_html“. Alternatively, you can upload the files using Filezilla, the FTP client. However, it is not possible to unzip the zip file. If you are comfortable with FTP, you need to unzip the file first and upload via Filezilla.
 On cPanel, unzip the file. When an extract of the zip file completes, all the files go under the folder “WordPress” inside “public_html.” If you leave as it is. The website needs to be accessed like this: http://yourdomain.com/wordpress. To avoid this, you have move WordPress files from “WordPress” folder to the “public_html” folder.
Setup Database
 On cPanel, click “MySql Databases.” You go to another page to create a new database and users.
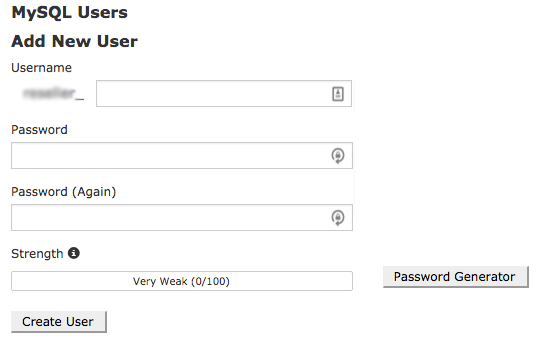
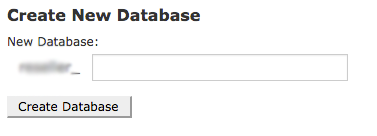 Now you create a new database. Secondly, you create a new user. While creating a new user, you can use your password or use a password generator. If you are using a password generator, copy the password as you need to use it while setting up a website.
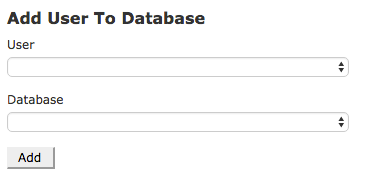
Later you need to assign user to database and grant privileges to a user for the selected database.
Once all the setup of the database is complete, its time to set up WordPress.
Set up Process
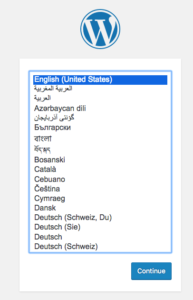 Open a new tab on your browser and type your domain name. The first step to setup starts now. As the page loads, you see the following on your screen. You can choose your language as required. Click “Continue“.
After you click, continue you go the second page. The page is an intro that gives you info on what you need to know for installation. Click the “Let us go” button.
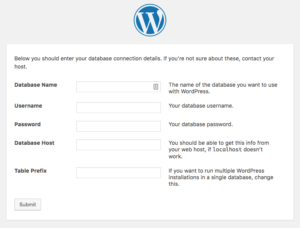
Thirdly, the screen you see requires details on:
Database Name: “Copy database name from cPanel.”
Username: “Copy database Username you created from cPanel.”
Password: “Copy Paste the password you created while creating database username as mentioned in Step 4.”
Database Host: “Usually its localhost. Sometimes hosting provider has a different IP for the database. You can get IP from (Cpanel -> Phpmyadmin)”
Table Prefix: “You can use the default (wp_), or you can change it to any you feel comfortable with such as (tuts_).”
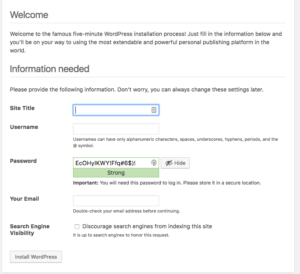
When the submission is successful, you get to the final screen to input details as on display below. Complete the form. For Username, we suggest not to use “admin” as a username as that is too common. Instead, you can use other names as a username.
Ready to go
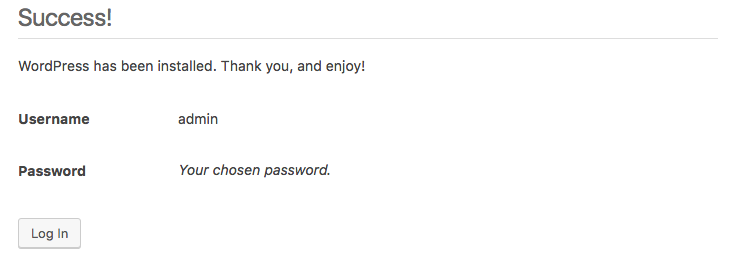
After the installation goes right. You see this on your browser.